
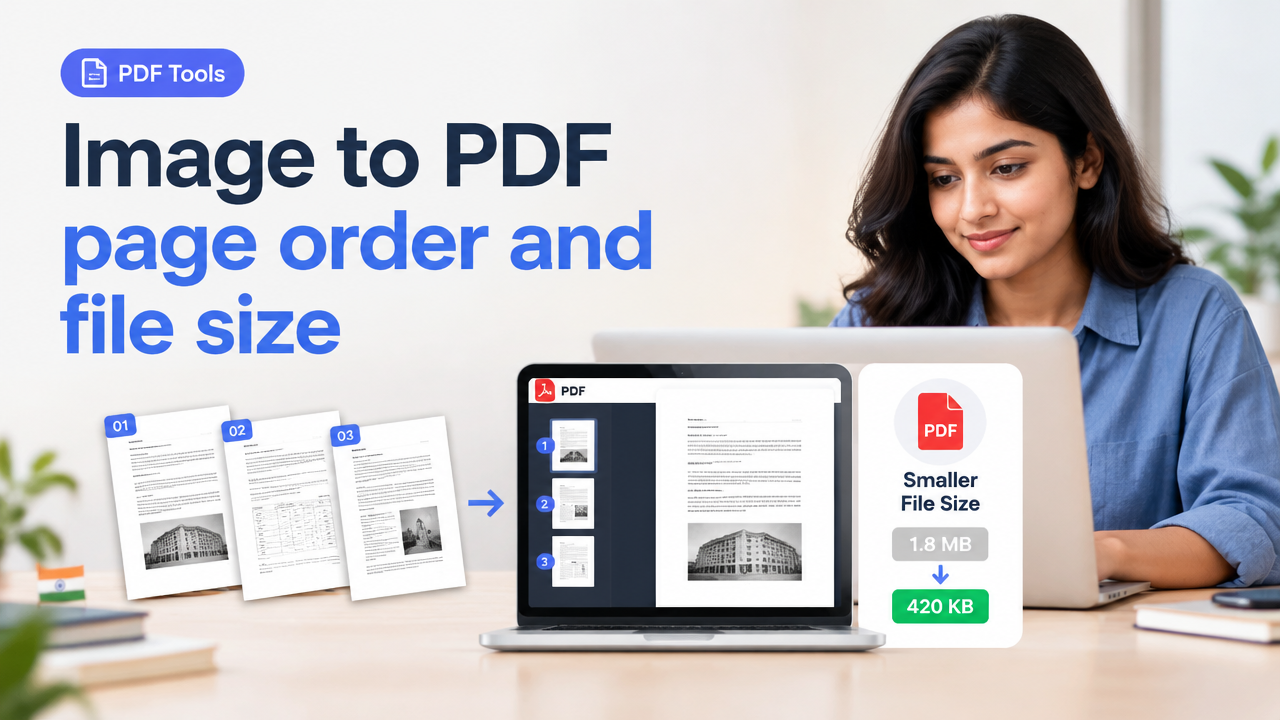
Image to PDF page order and file size — control pages, reduce KB and keep scans readable
Quick answer: Prepare images in the final page order, crop and rotate so each image is upright, choose a sensible DPI (usually 200–300 for documents, 300 DPI for OCR), then convert with a tool that lets you reorder pages and set JPEG quality or compression. If you must meet a KB limit, compress progressively and check readability after each step. See the checklist and workflows below.
Why page order and file size both matter
Two common problems when turning photos/scans into a PDF are (1) pages end up shuffled and (2) the PDF is too large or too small — too large to upload, or too small and unreadable. Page order matters for forms, applications and multi-page documents. File size matters for email, government or exam portals that set upload limits. You need a balance: readable scans at the smallest possible KB.
Key concepts: pixels, DPI, compression and PDF page order
- Pixels and image size: the image resolution (width × height in pixels) determines visible detail. For A4-like document scans, a 1700–2500 px short side is often plenty.
- DPI (dots per inch): determines print/read clarity. For screen viewing and OCR, 200–300 DPI is usually enough. Higher DPI increases file size.
- Compression/quality: JPEG compression reduces KB at the cost of artifacts. For text documents, avoid extreme compression that blurs letters.
- PDF page order: many converters add images in the sequence you select. If your images are named sequentially (e.g., 01-page1.jpg, 02-page2.jpg) the upload/import order will be correct in most tools. But always preview and reorder if the tool allows.
Before you start: quick checklist
| Task | Why it matters |
|---|---|
| Name files in final order (01, 02, 03…) | Makes automatic ordering reliable when uploading many files |
| Rotate & crop to remove background/edges | Keeps pages readable and reduces wasted pixels |
| Adjust brightness/contrast, desaturate if color not needed | Improves legibility and can reduce file size |
| Decide target KB and DPI | Guides compression choices and final checks |
| Keep originals until final verification | Allows redoing compression without re-scanning |
Step-by-step workflows
1) Fast online method (any device)
- Rename the image files so they sort in the desired page order (prefix 01, 02…).
- Upload the images to a trusted online converter that supports reordering and quality settings. Always review the tool’s privacy policy if your documents are sensitive.
- Use the tool’s preview/reorder UI to confirm page order. Rotate any pages that are upside down.
- Choose output options: set image compression/quality (e.g., 70–85% JPEG) or choose ‘High quality PDF’ if available.
- Download the PDF, check file size, then open and zoom to ensure text is readable on-screen. If too large, lower quality and repeat.
2) Windows — Print to PDF from File Explorer
- Place files in a folder and ensure names are in the correct order.
- Select them all, right-click and choose Print > Microsoft Print to PDF (or use a PDF printer app).
- Set paper size and image layout. Use ‘Full page photo’ for full-page scans.
- Save the PDF and verify page order in a PDF viewer.
- If the file is too large, open originals in an image editor and reduce JPEG quality or resize the pixel dimensions, then repeat printing to PDF.
3) macOS — Preview
- Open all images in Preview. In the sidebar drag thumbnails to the needed order.
- File > Print > Save as PDF or File > Export as PDF.
- For smaller files, export each page as JPEG with lower quality before creating PDF, or use Quartz Filter to reduce file size.
4) Mobile (iPhone/Android)
- On iPhone: use Notes or Files app – create a new note, add photos in order, then Export as PDF. On Android: many gallery apps or third-party apps (Google Drive Scan) allow selecting images and saving as PDF.
- Verify order and rotate if necessary, then save/share. If file too large, reduce image resolution in camera settings or use a compression app before converting.
How to control file size without losing readability
Work iteratively: compress, check readability, repeat. Use these specific tactics:
- Resize pixels: for document text on-screen, 1500–2000 px on the document’s short side often keeps text clear while saving KB. For OCR, prefer 300 DPI equivalence — typically 2000–2500 px for A4 crops.
- Adjust JPEG quality: start at 85% and step down in 5–10% increments until you hit the KB target while keeping characters sharp.
- Convert color to grayscale: removes color data and usually halves file size for scans of black-and-white text.
- Use mixed strategy: for multi-page PDFs, you can use higher quality for pages with small text or images and lower for blank or simple pages (some advanced PDF editors allow page-level image replacement).
- Remove margins and background: tight crop removes blank space and reduces pixels.
Tools and links (SmartImageResize resources)
If you need help resizing to a target KB or exact pixels before creating a PDF, follow SmartImageResize guides:
- Resize Image to Exact KB and Pixels for Online Upload — use this before converting images to PDF when a strict KB limit applies.
- Compress Image to 20KB 50KB or 100KB Without Making Text Unreadable — practical steps for keeping document text legible.
- Image to Text OCR Guide — tips on scan DPI, contrast and preprocessing to improve OCR accuracy.
- Resize Image to Exact Pixels Without Stretching — helpful when you must meet pixel-dimension requirements for uploads.
Common mistakes and how to avoid them
- Uploading unordered files: Don’t rely on unpredictable upload orders. Rename before upload or use the tool’s reorder feature.
- Over-compressing for size: Dropping quality too far makes text unreadable and can ruin OCR results. Test at each step.
- Not checking final PDF on different devices: A PDF that looks fine on desktop may be unreadable on small phones. Preview at 100% and on mobile if possible.
- Scanning at low DPI: Saving space by scanning at 72–100 DPI often loses small text. Aim for 200–300 DPI for documents.
- Not checking upload guidelines: For government or exam portals, verify page order, allowed file types and size limits on the official site before submitting.
Practical tips for government forms and exam uploads (India)
Do not assume specific official limits or dimensions. Always verify the current notification or portal instructions (for example, an exam portal or government portal’s instructions page). When preparing images for a government upload:
- Keep a copy of the original scans until the process is complete.
- If a portal requires a single PDF, ensure the page order exactly matches the submission checklist (front page, supporting docs, signatures, etc.).
- When a KB limit is stated, aim for a small margin below the limit (e.g., if 200 KB is allowed, produce a file around 170–190 KB) to prevent edge-case rejections.
Checklist: final verification before submission
| Check | Pass/Fail |
|---|---|
| Page order is correct | |
| All pages are upright and cropped | |
| Text is readable at 100% zoom and on phone | |
| File type is PDF and meets the portal’s file-size limit | |
| File name follows the portal’s naming rules |
Frequently Asked Questions
Conclusion
Turning images into a well-ordered, compact and readable PDF is mostly preparation + iterative compression. Name and arrange files first, set a reasonable DPI, crop and fix contrast, then convert with a tool that allows reordering and quality choices. If you are constrained by strict KB limits, work page-by-page: reduce pixels, convert to grayscale and lower JPEG quality in small steps until you reach the target while keeping text legible. Use the linked SmartImageResize guides if you need precise pixel or KB results, and always verify portal-specific rules before submission.
Try the matching Smart Image Resize tool
Use the closest live SmartImageResize tool for the task in this guide. For government or platform uploads, verify the latest official requirement before final submission.
Open Smart Image Resizer, Converter & Compressor — Free Online Tool
1 Comment
[…] Image to PDF Page Order and File Size — Control Pages, Reduce KB and Keep Scans Readable — good if you need to rebuild a PDF after extracting pages as images. […]