Photo pixel resizer vs KB file size reducer explained
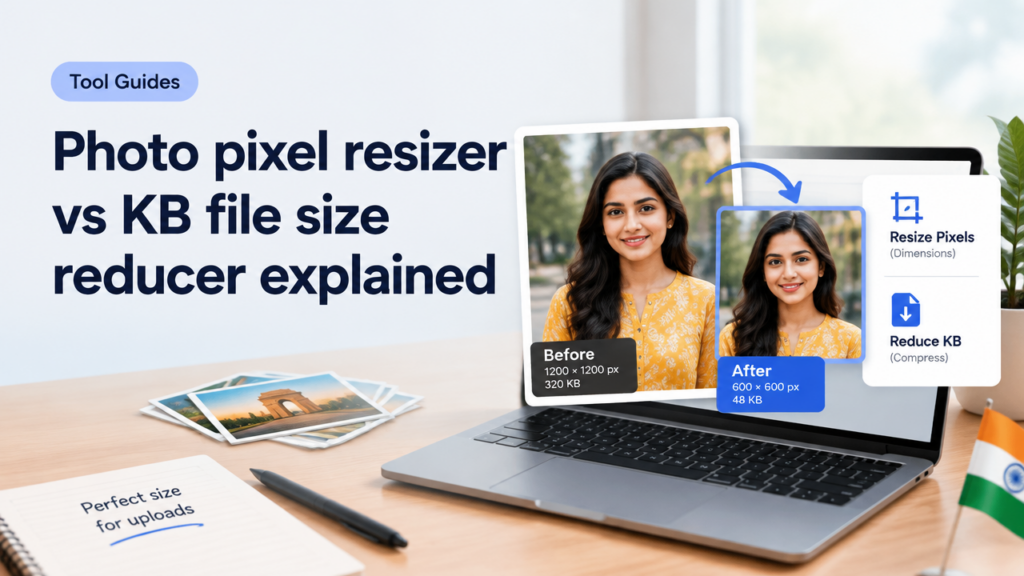
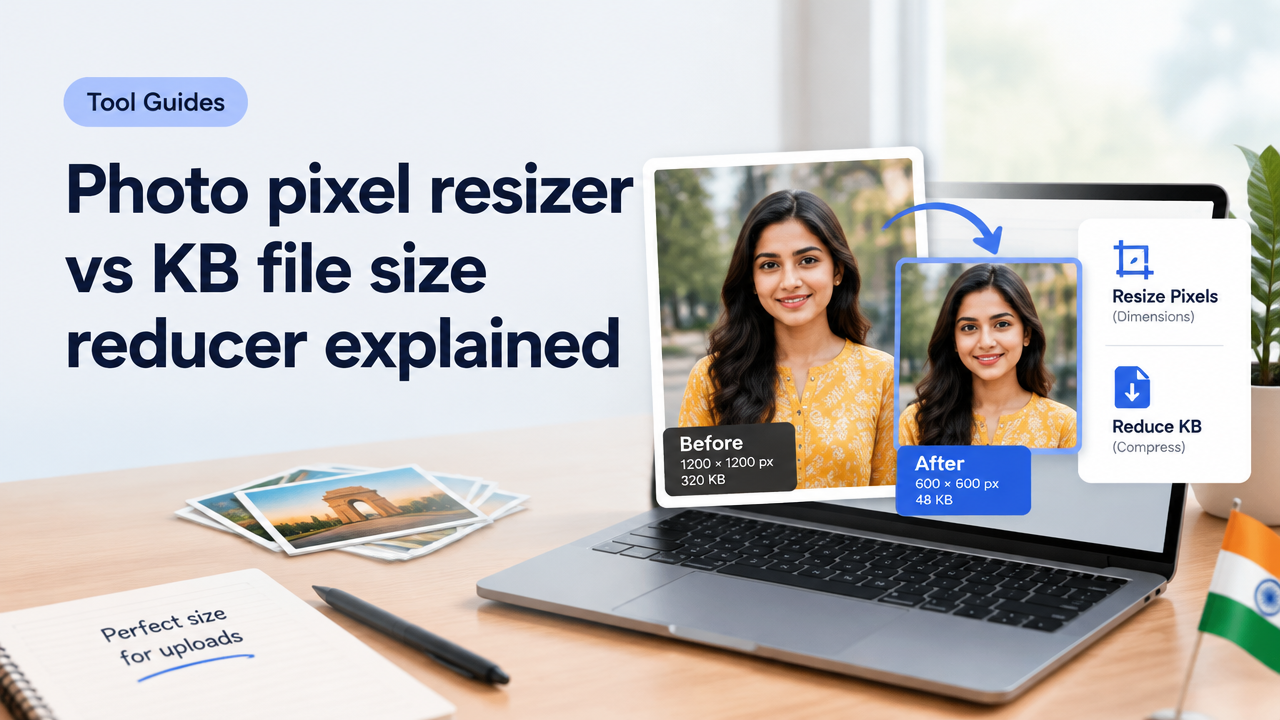
Short answer: Resize pixels when the site or form asks for specific image dimensions (for layout, face framing or exact-pixel upload). Reduce KB when you must meet a file-size limit (upload cap or page-speed). Often you need both—first resize pixels to control dimensions, then compress (reduce KB) to meet file-size and quality needs.
Why pixels and KB are different things
Pixels (dimensions) = width × height in pixels, e.g., 600×600 px. This controls how large the image will appear and how much detail it contains.
File size (KB/MB) = how many bytes the image file uses on disk. File size depends on pixels, file format (JPG/PNG/WebP), image complexity, and compression settings.
Quick analogy: pixels are the image’s physical size, KB is its luggage weight — you can pack the same suitcase (pixels) more tightly (compression) to reduce weight.
When to use a pixel resizer (exact pixels)
- Form or exam portals that require exact pixel dimensions (e.g., 200×200 px). Always verify the portal instructions before editing.
- Thumbnails, profile pictures and UI images where layout and safe-area (face, logo) matter.
- When you need to crop or frame a subject without changing composition.
Use the site tool Resize Image to Exact Pixels Without Stretching or Changing Aspect Ratio to set pixel dimensions while preserving aspect ratio.
When to use a KB file size reducer (compressor)
- When a website or application refuses uploads above a KB limit (e.g., <100KB).
- To speed page load time or meet performance budgets for images on web pages.
- To reduce email/attachment sizes.
See step-by-step KB compression options in Compress Image to 20KB 50KB or 100KB Without Making Text Unreadable.
Practical examples with step-by-step workflows
Example A — Government form needs 350×450 px, file <50KB (verify official instructions before upload)
- Open your photo in a pixel-resize tool. Set exact dimensions to 350×450 px. Use crop to position face in the safe area; avoid stretching.
- Save as JPG with medium-high quality (quality 85–90). If you are using SmartImageResize, use the exact-pixels tool linked above.
- Check file size. If >50KB, open a compression tool and reduce quality gradually—try quality 75, 65, etc., until file <50KB.
- If text or face detail becomes poor, try switching to WebP (better quality at lower KB) by converting: Convert PNG to Webp Without Quality Loss (WebP often reduces KB while retaining sharpness).
- Verify the portal accepts WebP. If not, use JPG and lower quality, or reduce dimensions slightly only if allowed by instructions.
Example B — Create a fast website hero image 1920×1080 px under 250KB
- Resize the image to 1920×1080 px (or the required responsive sizes) using a pixel-resizer tool.
- Export as WebP or JPG. For photos, WebP at quality 75–85 usually hits lower KB than JPG with similar perceived quality.
- Use smart compression: lower quality, enable chroma subsampling for JPG, or use WebP encoding presets. Check file size, iterate until <250KB.
- Also create responsive versions (e.g., 1024px, 768px widths) to serve smaller files to mobile devices—this reduces overall page weight.
- Read our featured-image guide for WordPress workflows: Featured Image Optimization for WordPress Page Speed and Search Visibility.
Quick checklist: choose settings based on task
| Task | Priority | Pixel action | KB action |
|---|---|---|---|
| Form photo (exact dims) | High | Set exact pixels, crop for framing | Compress gently to meet limit |
| Website hero image | High | Resize to required layout sizes | Convert to WebP, compress to budget |
| Signature image | High | Crop tightly, keep 1:1 whitespace rules | Compress without blurring strokes (lossless if required) |
| Social post | Medium | Resize for safe area | Moderate compression to keep details |
How pixel resizing and compression affect image quality
- Resizing down reduces detail but usually improves apparent sharpness if done with good resampling (bicubic/sharpen on export).
- Over-compression (too low quality) introduces artifacts: blockiness, color banding, and loss of text/readability.
- PNG preserves sharp edges and transparency but often has larger KB—convert to WebP when you need smaller KB with transparency support.
- Always check critical areas (faces, signatures, text) after compression.
Common mistakes and how to avoid them
- Reducing KB first then resizing: compressing a large image and then resizing often preserves compression artifacts unnecessarily. Best order: resize to target pixels, then compress.
- Changing aspect ratio without noticing: forcing new pixels can stretch or squash faces. Use ‘lock aspect ratio’ or crop instead.
- Relying on only one preview: some upload portals recompress again—always check the portal preview after upload and keep an unedited original.
- Assuming format compatibility: some portals don’t accept WebP. Verify accepted formats before converting.
- Setting quality too low to hit a KB target in one step: instead, iteratively reduce quality and check visual result.
Privacy and processing notes
If you are uploading sensitive ID photos or signatures, verify where the service processes files. SmartImageResize pages linked above explain features and workflows; for highly sensitive documents prefer editing on-device or using offline software when required by the issuer. Always keep the original safe until your upload is accepted.
Tools and internal resources (recommended reads)
- Resize Image to Exact Pixels Without Stretching or Changing Aspect Ratio — for exact-dimension tasks.
- Compress Image to 20KB 50KB or 100KB Without Making Text Unreadable — for tight KB limits.
- Image Resizer vs Compressor vs Cropper vs Converter: Which Tool Should You Use — choose the right tool.
- Convert PNG to Webp Without Quality Loss — to save KB on images with transparency or photographic content.
Frequently Asked Questions
Tips for better results
- Keep a lossless original or high-quality backup before editing.
- When reducing KB, remove EXIF metadata if not needed; this can shave off KB without affecting visible quality.
- For text, signatures and line art, prefer PNG or lossless WebP if the format is allowed; for photos, prefer WebP or compressed JPG.
- Test by opening the file at 100% zoom to inspect for artifacts before uploading.
Conclusion
Pixels (dimensions) and KB (file size) solve different problems. Use a pixel resizer when exact dimensions, composition or safe-areas matter. Use a KB reducer when you must meet upload or performance limits. In practice, best results come from resizing to the target pixels first, then compressing carefully—prefer WebP where compatible, and always verify official requirements for forms and government uploads.
Need a workflow for a specific platform or form? Tell us the exact required pixels and KB limit (or link to the instructions) and we’ll give a step-by-step plan.
Try the matching Smart Image Resize tool
Use the closest live SmartImageResize tool for the task in this guide. For government or platform uploads, verify the latest official requirement before final submission.
Open 10 KB to 20 KB Signature Size in Pixels | Online Signature Resizer