Convert PNG to WebP without quality loss: Fast web images guide
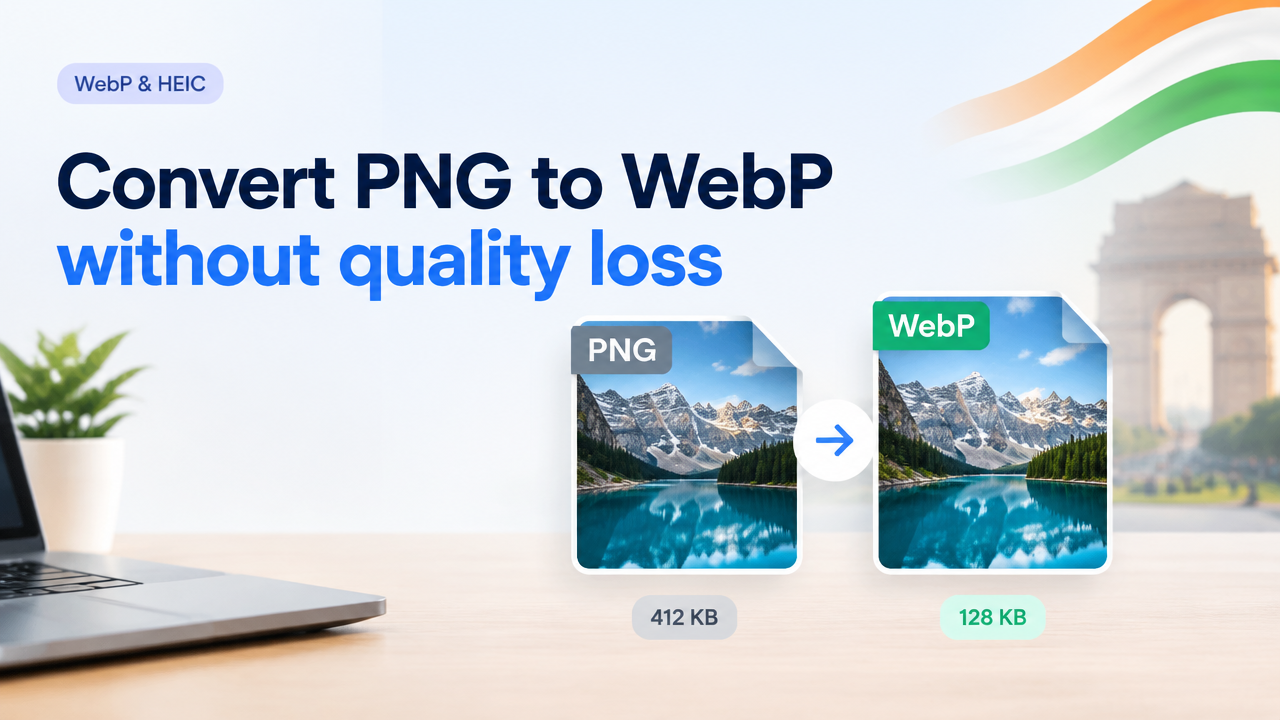
Answer first: Yes — you can convert most PNG images to WebP and reduce file size with no visible quality loss, if you choose the right WebP mode (lossless vs lossy), preserve transparency where needed, resize to appropriate dimensions and visually test at 100% zoom. Follow the step-by-step workflow below and use responsive serving to get faster web pages while keeping display quality.
Why convert PNG to WebP?
PNG is often used for images that need transparency or crisp edges (icons, UI, screenshots). WebP supports both lossless and lossy compression and can produce much smaller files for the same visual quality—helping pages load faster, reduce bandwidth and improve Core Web Vitals. That said, PNG remains useful for some workflows (editing, exact-pixel assets) and for tools that require PNG input.
WebP vs PNG: formats, transparency and trade-offs
- Transparency: WebP supports alpha (transparency). Converting PNG with alpha to WebP normally keeps the alpha channel, but some conversion tools or CMS plugins may flatten transparency—verify the output.
- Lossless vs lossy: WebP has both lossless and lossy modes. Lossless WebP can beat PNG in size for many images, but lossy WebP gives much smaller files with near-identical appearance if tuned carefully.
- Metadata: Some converters strip EXIF or colour profiles. If colour accuracy is critical, choose a converter that preserves profiles or re-apply sRGB conversion.
- Compatibility: Many modern browsers support WebP. Always plan a fallback (serve WebP with PNG/JPEG fallback) to cover older clients or specific platforms.
Dimensions vs KB vs perceived quality — how to decide
File size (KB), image pixel dimensions and compression quality all affect perceived quality. Use this simple rule:
- Start by resizing to the largest display size the image will be shown at (no need to keep original megapixels for a small page element).
- Choose a quality setting that balances file size with visible detail loss. For lossy WebP, many images look identical at quality values between 75–85; for photos you can often go lower if you don’t zoom.
- If the image has text, icons or sharp edges, check lossless WebP first or a higher quality setting to avoid halos.
| Use case | Resize strategy | WebP mode & starting quality |
|---|---|---|
| Small UI icons, logos | Export at exact display pixels | Lossless WebP or lossy with quality 90+ |
| Screenshots with text | Keep native pixel clarity; avoid heavy downscaling | Lossless or lossy quality 85+ |
| Photos / hero images | Resize to responsive sizes (desktop/tablet/mobile) | Lossy quality 70–85 |
| Images with alpha gradients | Verify alpha quality visually | Lossy with alpha quality parameter, or lossless |
Step-by-step workflow: Convert PNG to WebP without visible quality loss
- Identify the image role: Is it an icon, hero photo, screenshot or UI asset? Decide target display dimensions.
- Resize to display size: Reduce pixel dimensions to match the largest size used on your site—use responsive resizing for mobile. (See our guide on resizing to exact pixels: Resize Image to Exact Pixels Without Stretching or Changing Aspect Ratio.)
- Choose WebP mode: Try lossless WebP first for icons/screenshots. For photos, start with lossy WebP at quality ~80 and compare visually.
- Convert and preserve alpha: Use a converter that keeps the alpha channel intact for PNGs with transparency.
- Test at 100% zoom: Inspect the converted image side-by-side with the PNG at the actual render size and at 100% zoom to spot subtle artifacts.
- Use responsive serving & fallbacks: Serve WebP with PNG/JPEG fallback using the
<picture>element so older browsers still display an image. - Measure impact: Run Lighthouse/PageSpeed to confirm reduced image transfer sizes and improved load times.
Example conversion commands and options
Below are common, practical commands. Always test visual output after conversion.
- cwebp (Google):
cwebp -q 80 input.png -o output.webp(lossy). For lossless:cwebp -lossless input.png -o output.webp. - ImageMagick (v7):
magick input.png -quality 80 output.webp— behaviour varies by ImageMagick build; check alpha handling. - For alpha quality with cwebp: use
-alpha_qto tune transparency if needed (tool docs explain exact flags). - Online tools: Many online converters offer presets (lossless, photo, icon). Confirm they preserve alpha and metadata if you need them.
How to serve WebP with a PNG fallback (HTML)
Use the <picture> element to serve WebP and provide a fallback PNG or JPEG. Example:
<picture>
  <source srcset="image.webp" type="image/webp">
  <img src="image.png" alt="Descriptive alt text">
</picture>
This ensures users on older browsers still get a compatible image while modern browsers use the smaller WebP file.
Preserving transparency and metadata
WebP supports full alpha transparency, but some converters or CMS uploads may flatten or convert alpha to a matte colour. To avoid problems:
- Confirm the converter explicitly supports alpha preservation.
- Check the converted file in an image viewer that shows transparency (or place it on a contrasting background).
- If colour profiles matter (printing, precise brand colours), verify that the tool preserves ICC/sRGB profiles; some tools strip EXIF/metadata by default.
Testing visual quality and automated metrics
Visual testing is primary. Tools you can use:
- Open PNG and WebP at 100% and compare side-by-side. Look at edges, text and any banding in gradients.
- Use web performance tools (Lighthouse, PageSpeed Insights) to measure network savings and paint times.
- If you want objective metrics, consider SSIM or PSNR, and advanced perceptual diff tools. These show quantitative differences but still verify by eye.
For WordPress sites, converting images to WebP plus using responsive images can significantly reduce image transfer size; see our Image SEO checklist for publishing best practices: Featured Image Optimization for WordPress Page Speed and Search Visibility.
Common mistakes and tips for better results
- Converting without resizing: Many people convert the original full-resolution PNG and miss the biggest wins. Resize to the largest display size first.
- Not preserving alpha: Some tools drop transparency—always verify.
- Relying only on automatic presets: Auto settings can be fine, but test different quality values for your images.
- Ignoring text and icons: These need higher quality or lossless conversion to remain crisp.
- Not providing fallbacks: Always include fallback images for older browsers.
- Expecting identical pixel-for-pixel results: Lossy WebP will change pixels. Aim for no visible difference at intended display sizes.
Practical checklist before you publish
| Task | Done |
|---|---|
| Resize image to target display size | |
| Choose lossless or lossy WebP based on content | |
| Convert and preserve alpha / profiles | |
| Visual check at 100% and responsive sizes | |
Implement <picture> fallback for compatibility |
|
| Run Lighthouse/PageSpeed and confirm improvements |
Need help producing the smallest readable image? Our guides on targeted compression and KB resizing can help with exact file-size goals: Compress Image to 20KB 50KB or 100KB and Resize Image to Exact KB and Pixels for Online Upload.
When to keep PNG instead of converting
- If you have an editing workflow that requires lossless PNG (master assets), keep the master as PNG and export WebP copies for the web.
- If a workflow or tool (some CMS plugins or older integrations) requires PNG input, keep PNG for those steps and convert for public delivery.
- For guaranteed pixel-perfect logos and exact colour proofs, some teams prefer to keep PNG masters.
Conclusion
Converting PNG to WebP is a practical, effective way to speed up websites without visible quality loss—if you resize to display dimensions, choose the correct WebP mode, preserve transparency and test visually. Use responsive delivery and fallbacks to ensure compatibility. Follow the checklist above and test in your browser and via PageSpeed tools to confirm gains.
Frequently Asked Questions
Further reading: consider the WebP conversion trade-offs in your CMS and check your site performance after deployment. For publishing and SEO details related to images, see our image optimization and SEO guides.
Try the matching Smart Image Resize tool
Use the closest live SmartImageResize tool for the task in this guide. For government or platform uploads, verify the latest official requirement before final submission.