Family: Core Tool & Practical (PDF Tools). Mode: Tool guide with form-upload best practice.
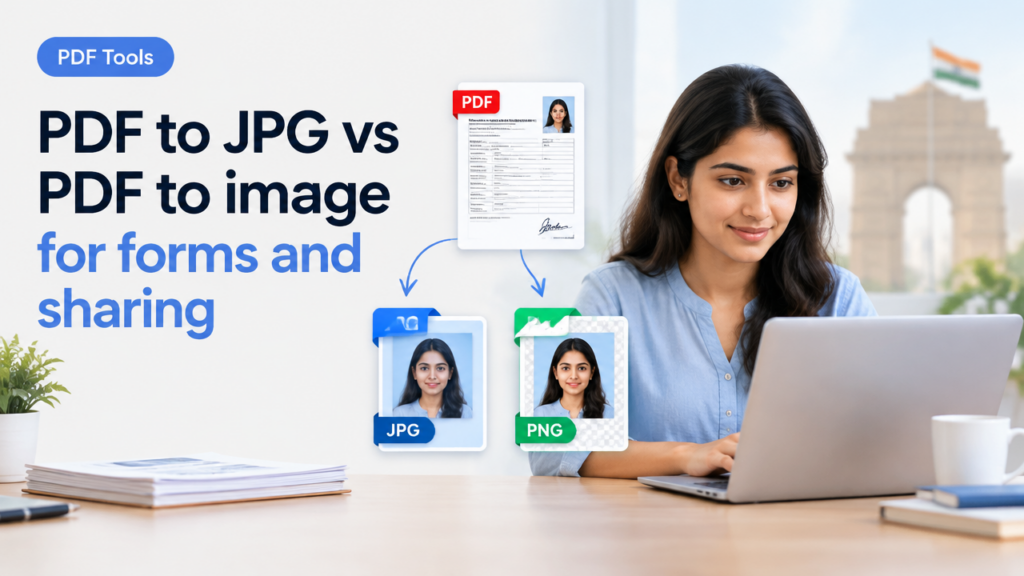
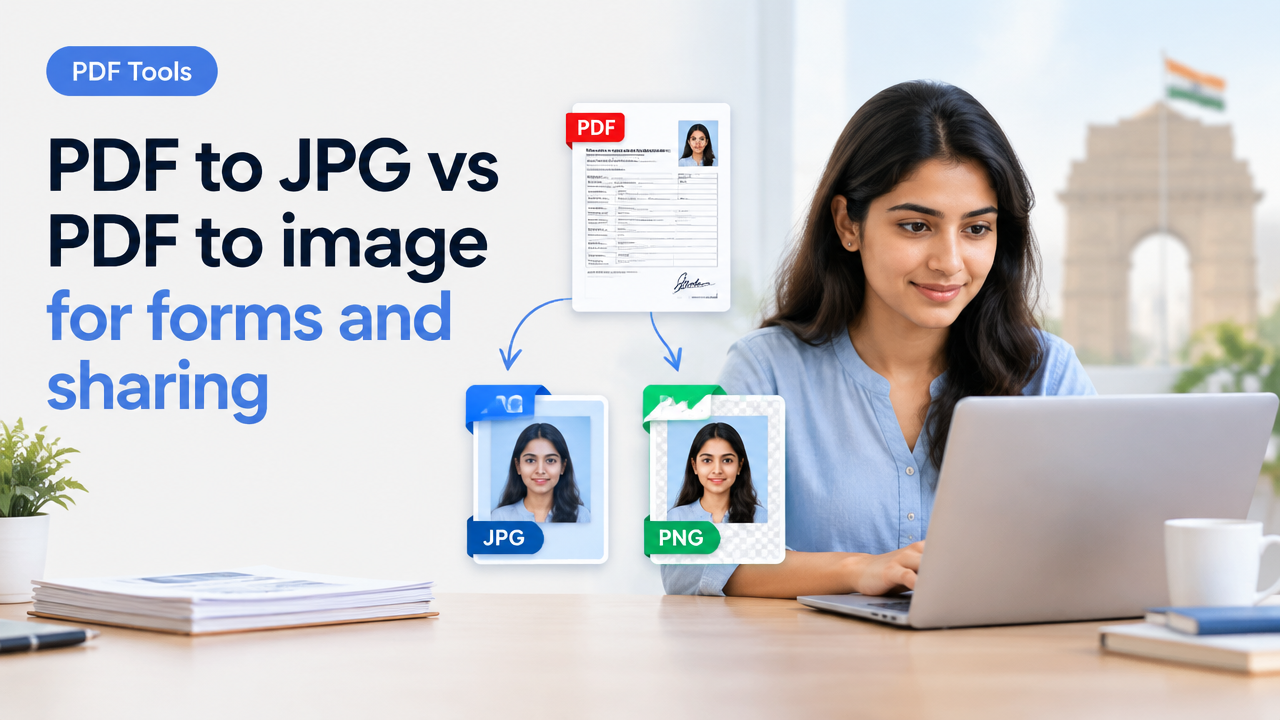
PDF to JPG vs PDF to image for forms and sharing
Short answer: Use PDF→JPG when you need small, widely compatible photographic images (photo-like scans, single-page sharing by email or social apps). Use PDF→PNG (or lossless TIFF) when you need sharp text/line-art, transparency, or repeated edits. For multi-page forms, keep the original PDF unless the receiving system requires images per page.
Why this matters for forms and sharing
Forms and government portals often reject files for the wrong format, wrong pixel dimensions or excessive compression that makes text unreadable. Choosing JPG vs PNG/TIFF affects legibility, file size (KB), color fidelity and whether the image supports transparency. This guide shows practical workflows you can use today and a checklist before uploading to any form portal.
Quick comparison table
| Use case | Best option | Pros | Cons | When not to use |
|---|---|---|---|---|
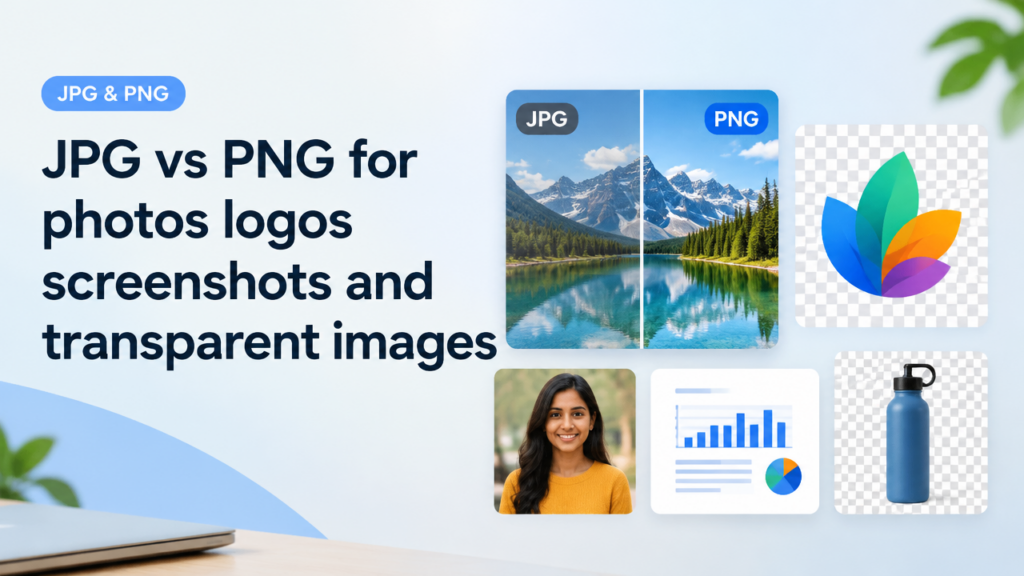
| Photographic scans (ID photos, photo parts of forms) | JPG | Small size, wide compatibility, good for photos | Lossy compression can blur text and fine lines | If the portal needs lossless text or logos |
| Scanned forms, signatures, line-art, logos | PNG or TIFF | Lossless, retains sharp text and lines, supports transparency (PNG) | Larger files than JPG | When strict KB limits require smaller files |
| Multi-page documents to upload/print | Keep PDF or export high-quality PDF | Preserves pages, fonts, vector graphics; smaller for mixed content | Not accepted by some legacy portals that only accept images | If receiver explicitly asks for images per page |
How conversion affects dimensions, file size and quality
Remember three different things: pixel dimensions (width x height), file size in KB/MB, and visual quality. Converting PDF to JPG usually rasterises content at a chosen resolution (DPI) — higher DPI = more pixels = larger file but crisper text. JPG uses lossy compression, which reduces KB but can introduce halos or blur around small text. PNG/TIFF are lossless for line-art and are better when you need readable text in tight KB budgets if you can later run lossless compression or simple dithering.
Step-by-step: Convert PDF to JPG (single page & multi-page)
Use this workflow when you must produce JPG images from a PDF for quick sharing or portals that accept only images.
- Open the PDF with a reader that can export images (Adobe Acrobat, Preview on Mac, or a reliable online converter). If you use an online converter, choose a privacy-respecting service and avoid uploading sensitive documents if unsure.
- If asked, choose an output DPI. For forms: 150–300 DPI is usually enough. Use 300 DPI for text-heavy forms if you plan to crop or OCR later.
- Export each page as a separate JPG. If the portal needs only one page, export that page only.
- Open the exported JPG and check legibility at 100% zoom. If text looks soft, re-export at a higher DPI or choose PNG.
- Compress or resize the JPG if KB exceeds the portal limit. Use step-by-step compressors or the SmartImageResize guides: convert/export first, then follow Resize Image to Exact KB and Pixels and compression guides (see links below).
Step-by-step: Convert PDF to PNG (best for forms, signatures, and line-art)
PNG preserves sharp edges and is great when form fields, signatures or small printed text must remain readable.
- Open the PDF and export to PNG with 300 DPI for text/line-art.
- If the PNG includes unnecessary margins or whitespace around a signature, crop to the signature box but keep a small margin so nothing gets clipped.
- If the portal has a KB limit, apply lossless PNG optimisation or consider 8-bit PNG for monochrome scans. If you must reduce more, export to JPG only after checking legibility.
- For single-color signatures, scanning as black-and-white (1-bit) can drastically reduce size while keeping strokes clear, but verify the portal supports monochrome images.
Workflow to keep multi-page forms readable and shareable
If you need to send a multi-page PDF but the receiving system accepts only images, export each page as JPG or PNG and name files in order (page1.jpg, page2.jpg…). If possible, prefer keeping a single PDF; many portals accept PDFs and it keeps fonts and vectors intact.
Checklist before uploading forms (practical checklist)
| Check | Why it matters | How to verify |
|---|---|---|
| Format required by portal | Portals may accept: PDF, JPG, PNG only | Read upload instructions on the portal or help page |
| Pixel dimensions / aspect | Some forms require exact pixels or specific aspect ratio | Check portal example image or instructions; use exact-pixel resize if needed |
| KB/file-size limit | Large images may be rejected | Compress and verify with a file-size tool before upload |
| Legibility of text and signature | Blurry or compressed text leads to rejection | Zoom to 100% and read; ask a colleague to confirm readability |
| Privacy of sensitive data | Uploading to third-party sites may expose data | Prefer offline tools or verify privacy policy; delete uploads after use |
Common mistakes and how to avoid them
- Converting at too-low DPI: text becomes unreadable. Fix: re-export at 200–300 DPI.
- Overcompressing JPG: leads to artefacts around text and signatures. Fix: use higher quality or switch to PNG for text.
- Uploading wrong page order: name pages clearly (page1, page2) and preview before upload.
- Removing metadata incorrectly: some portals require embedded metadata (like applicant ID); check requirements before stripping metadata.
- Using online converters for sensitive documents without checking privacy: prefer local tools or trusted services.
Practical tips to reduce KB without losing legibility
- Crop out unneeded margins and backgrounds before compressing.
- If the document is mostly text, try 8-bit or indexed-colour PNG for smaller PNGs, or export as grayscale JPG at high quality.
- Resize pixel dimensions only as required by the portal. Smaller pixel size = lower KB but also lower legibility.
- When extreme KB limits apply, export at 300 DPI, then downscale to find the smallest readable size. Use SmartImageResize’s Resize Image to Exact KB and Pixels guide and Compress Image to 20KB 50KB or 100KB workflow to balance file size and readability.
Privacy and processing notes
Do not upload sensitive personal documents (identity proofs, bank statements) to random online converters. If you must use an online converter, read its privacy policy and prefer services that process files in the browser or delete files promptly. If your workflow requires local control, use desktop tools (Preview, Acrobat, image editors) to export pages and then run compression locally.
Useful SmartImageResize guides and tools
- Image to PDF Page Order and File Size — Control Pages, Reduce KB and Keep Scans Readable — good if you need to rebuild a PDF after extracting pages as images.
- Resize Image to Exact KB and Pixels for Online Upload — step-by-step for portals with strict pixel or KB limits.
- Compress Image to 20KB 50KB or 100KB Without Making Text Unreadable — practical compression recipes.
- Signature Image Resize Crop Whitespace KB Reduction Guide for Online Forms — how to prepare signature images specifically.
- Government Exam Form Photo Requirements — How to Verify the Current Notification and Resize Safely — how to check official dimensions and limits.
- Image to Text OCR Guide for Clean Scans, Screenshots and Readable Documents — if you plan to OCR after conversion.
Conclusion — practical rule of thumb
If the portal accepts PDFs, keep the document as PDF. If you must submit images: use JPG for photos and PNG/TIFF for scanned forms, signatures, and anything with small text or line-art. Export at sufficient DPI first, check legibility at 100% zoom, then reduce KB only until readability starts to suffer. Always verify the receiving authority’s requirements (pixel size, KB limit, accepted formats) before you convert.
Frequently Asked Questions
Try the matching Smart Image Resize tool
Use the closest live SmartImageResize tool for the task in this guide. For government or platform uploads, verify the latest official requirement before final submission.
Open PDF to JPG Converter Free – Fast, Secure & High Quality