Family: Core Tool/Search Intent — Core tool guide.
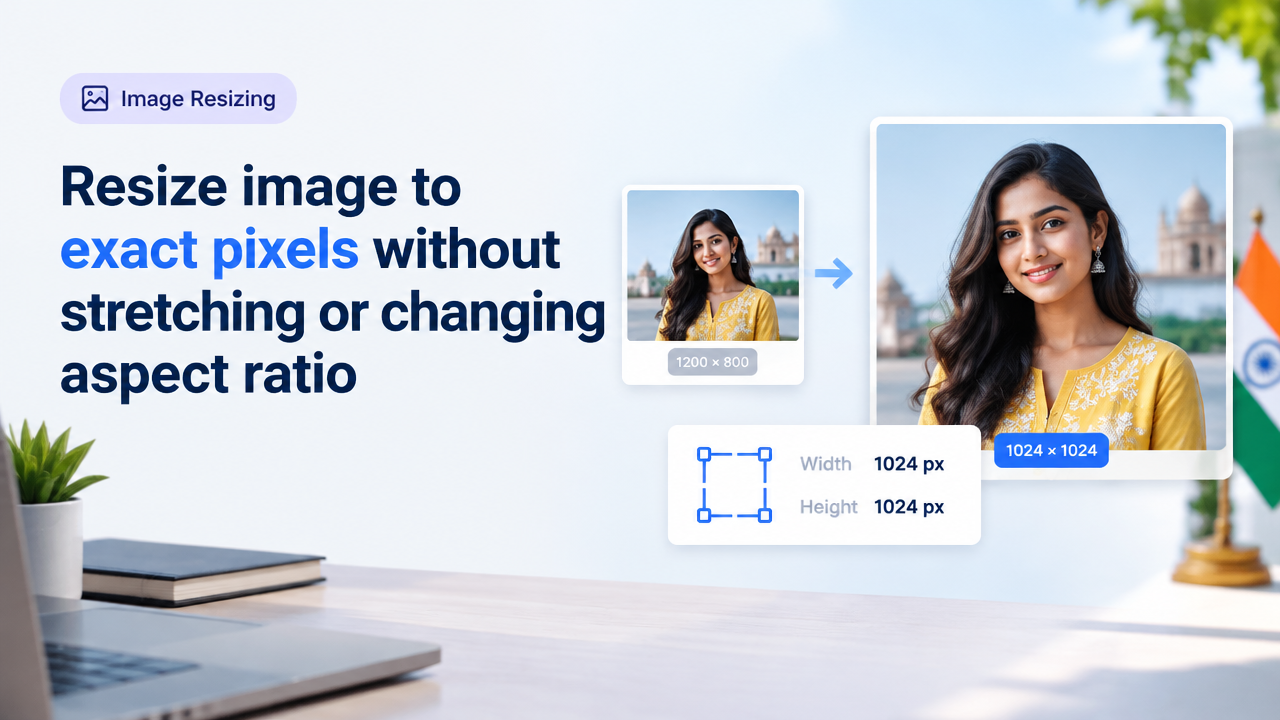
Quick answer: To get an image into exact pixel dimensions without stretching, first scale the image while preserving its aspect ratio (use the smaller scale factor), then either pad the extra area (letterbox) or smart-crop the image to the exact canvas size. Use lossless/controlled compression afterwards to meet KB limits.
Why this matters: pixels vs quality vs KB
Pixel dimensions (width × height in px) control how the image displays. File size (KB) is affected by pixels, file format and compression quality. Resizing without changing the aspect ratio prevents distortion — faces and logos stay correct. After you resize, compress carefully: too much compression reduces visual quality even if pixel dimensions are correct.
Three safe strategies (when you must reach exact pixels)
- Fit + Pad (recommended when nothing important will be cropped) — Scale the image to fit inside the target box, preserve aspect ratio, then expand the canvas and pad with background colour (or transparent). Use when you cannot lose any edges (e.g., product photos with full frame).
- Fit + Smart Crop (recommended for portraits or social thumbnails) — Scale to fill the target in one dimension and crop the overflow in the other. Use face-aware or subject-aware cropping when available.
- Stretch (only if acceptable) — Directly resize to target pixels without preserving aspect ratio. This distorts the image and is rarely appropriate.
Before you start: checklist
| Item | Why it matters |
|---|---|
| Original image resolution | Higher resolution gives better results when scaling down; avoid excessive upscaling. |
| Target pixel dimensions | Exact width × height required by form or layout. |
| Must-keep content | Decide whether edges can be cropped (faces, logos, signatures). |
| Background choice | Pad with white, black or transparent depending on format and uploader rules. |
| Final file format and KB limit | Choose JPG for photos, PNG/WebP if you need transparency; compress to meet KB limits. |
Step-by-step workflows
1) Fast web workflow (useful for form uploads)
Use an online tool that supports exact-pixel output and aspect-ratio options. SmartImageResize has a focused guide and tool for exact pixels and KB targets — see Resize Image to Exact KB and Pixels for Online Upload for a live workflow and tips.
- Open the tool and upload your image.
- Set the target width and height in pixels.
- Choose preserve-aspect-ratio (Fit) mode.
- Pick padding (white/transparent) or choose smart-crop if you accept trimming.
- Export as JPG/PNG/WebP. If the uploader has a KB limit, use the tool’s quality slider or a secondary compress step to meet the limit.
2) Photoshop (or similar commercial editor)
- Image → Image Size: ensure Resample is checked if you want to scale; choose Bicubic Sharper for reduction.
- Set width or height to fit inside the target. Use the smaller of the two scale factors so the image fits without stretching.
- If you need exact dimensions, go to Image → Canvas Size and set the final width × height. Choose the canvas extension colour (white/transparent).
- For smart crop: use the Crop tool with the exact pixel dimensions and drag to frame the important subject; apply.
- Export As…: choose format and quality. Check file size in the dialog and adjust quality to meet KB limits.
3) GIMP (free desktop)
- Image → Scale Image: preserve aspect ratio, set target size so image fits within the box.
- Image → Canvas Size: set final pixels and choose the offset; add background layer if needed.
- Export as JPEG/PNG and use Export options to tune quality and see estimated file size.
4) ImageMagick (command-line, batch-friendly)
Useful for automating many files.
Fit + pad example (target 800×800, pad with white):
convert input.jpg -resize 800x800 -background white -gravity center -extent 800x800 output.jpg
Fit + crop (fill then crop center):
convert input.jpg -resize 800x800^ -gravity center -extent 800x800 output.jpg
Note: ‘^’ tells ImageMagick to fill the box and crop overflow.
How to calculate scale without stretching (quick math)
Given original W×H and target TW×TH:
scaleX = TW / W ; scaleY = TH / H
To preserve aspect ratio and avoid stretching, use scale = min(scaleX, scaleY).
New width = round(W × scale). New height = round(H × scale).
Example: original 1600×1200, target 800×800 → scaleX = 0.5, scaleY ≈ 0.666 → scale = 0.5 → result 800×600. Then pad 100px top and bottom (or crop).
Format and compression guidance
- JPG: best for photos. Use quality 75–90 for a good balance; lower quality reduces KB but can introduce artifacts.
- PNG: use for images needing exact sharp edges or when transparency is required; file sizes can be large for photos.
- WebP: modern option with good compression for web; check uploader compatibility before using.
- Always preview final image at 100% and on device types that matter (mobile/desktop).
Common mistakes and how to avoid them
- Avoid direct stretching — that changes aspect ratio and distorts content.
- Don’t upscale small images too much — upscaling looks soft and pixelated. Use an enlargement tool with AI-only when unavoidable and preview carefully (see Enlarge a Small Image Without Pixelation for tips).
- Using the wrong canvas colour — some form uploaders reject transparent PNGs or expect white backgrounds. Check uploader rules first.
- Ignoring KB limits — an image with correct pixels can still be rejected for exceeding file-size limits. Use controlled compression after resizing (see Resize Image to Exact KB and Pixels for Online Upload).
- Cropping critical content — mark must-keep areas (faces, signatures) before applying smart-crop.
Practical scenarios with recommended approach
- Government or exam form photo where face must be fully visible: Fit + pad. Verify the official instructions before editing; see SSC UPSC Railway Banking Form Photo Signature Checklist for how to verify requirements.
- Social media thumbnail where subject must fill the frame: Fit + smart-crop (face-aware) and then export for web quality. For social safe-area tips, see YouTube Thumbnail and Instagram Cover Resize Workflow.
- Signature image for a form: crop tightly, ensure contrast, pad if exact pixels are required and reduce KB carefully. See Signature Image Resize Crop Whitespace KB Reduction Guide for stepwise tips.
Frequently Asked Questions
Tips for better results
- Always keep an original backup before editing.
- Work on a copy and save the edited file with a clear filename like filename_800x800.jpg.
- Preview at actual pixel size (100%) to check sharpness and artifacts.
- When reducing size, apply subtle sharpening after resize to restore perceived detail.
- If you frequently need exact pixels for uploads, build a small workflow template in your chosen tool to save time.
Useful SmartImageResize links
- Resize Image to Exact KB and Pixels for Online Upload — tool-focused workflow for combined pixel + KB targets.
- Enlarge a Small Image Without Pixelation — when upscaling is unavoidable.
- Signature Image Resize Crop Whitespace KB Reduction Guide for Online Forms — tips for signature images.
- Bulk Image Resize Workflow for Many Photos and Web Uploads — automate many files.
Conclusion
Resizing to exact pixels without stretching is a two-step thinking process: scale with aspect ratio preserved, then decide whether to pad or crop to reach the final canvas. Choose formats and compression carefully to meet KB limits without harming important visual details. Use the workflows above (web, Photoshop, GIMP, ImageMagick) depending on your tools and volume of images, and always verify any official upload rules before editing government or exam photos.
Try the matching Smart Image Resize tool
Use the closest live SmartImageResize tool for the task in this guide. For government or platform uploads, verify the latest official requirement before final submission.
Open 10 KB to 20 KB Signature Size in Pixels | Online Signature Resizer