JPG vs PNG for photos, logos, screenshots and transparent images
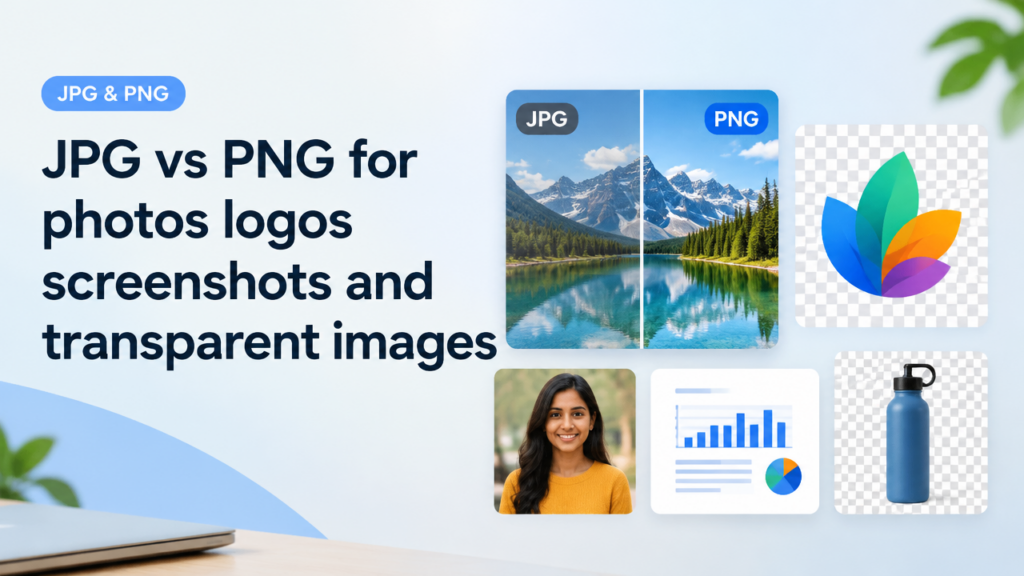
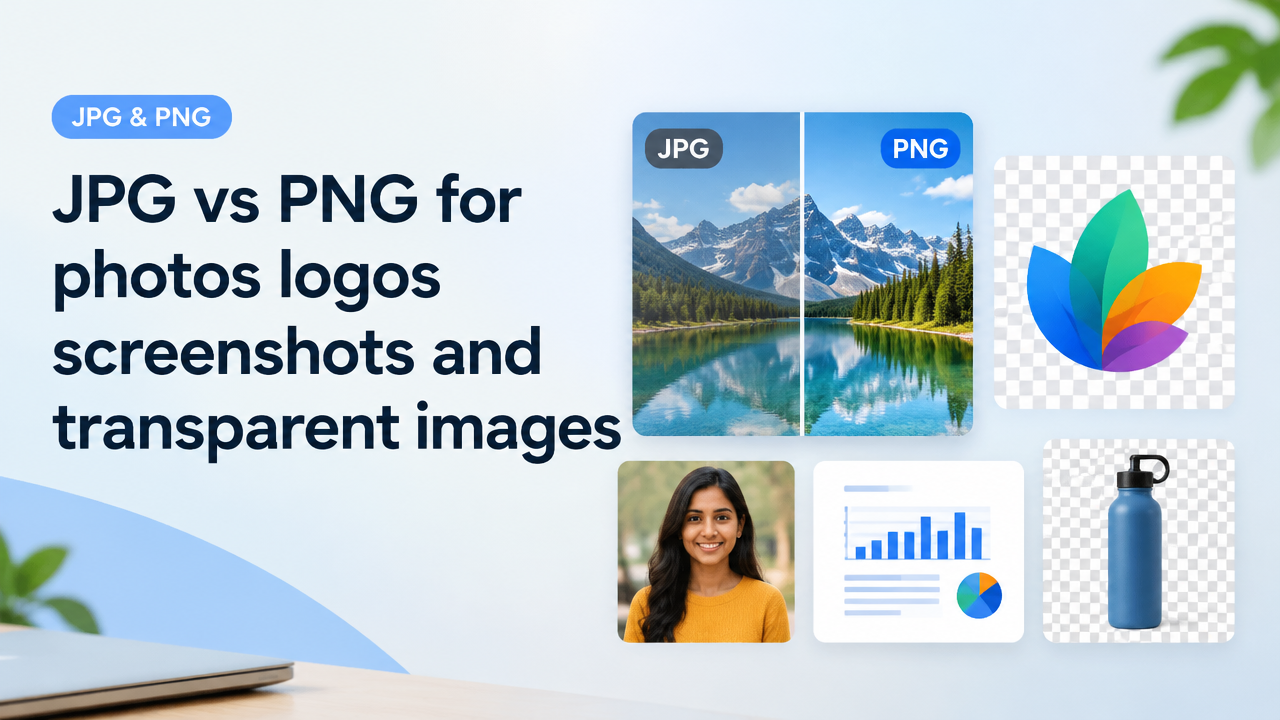
Short answer: Use JPG for full-colour photographs to save file size; use PNG for logos, icons, screenshots with hard edges or when you need true transparency. For screenshots that include text, or simple graphics, PNG often preserves clarity; for web photos, JPG is usually smaller. Follow the workflows below to convert, resize and keep quality while meeting upload limits.
How JPG and PNG differ (quick technical overview)
JPG (JPEG) uses lossy compression tailored to continuous-tone images like photographs. It reduces file size by discarding some visual detail; the higher the compression, the smaller the file and lower the quality. PNG uses lossless compression and supports an alpha channel (transparency). PNG keeps crisp edges and exact colours in graphics and screenshots but typically produces larger files for photos.
When to choose JPG
- Photos of people, landscapes, events, product images where subtle gradients matter.
- When you must meet strict KB upload limits (ID portals, e-commerce thumbnails) and can accept a small quality loss to save space.
- Large images that will be viewed at typical screen sizes — JPG usually keeps a good balance of visual quality and smaller file size.
When to choose PNG
- Logos, icons, illustrations, screenshots that include text or sharp lines — PNG preserves crispness.
- Images that need a transparent background (web headers, layered designs, product images over backgrounds).
- When exact pixel colours matter (UI components, charts) or when you cannot tolerate compression artefacts.
Transparency: why PNG is usually the only choice
JPG does not support transparency. If you want a non-rectangular image or need a see-through background on the web or in a document, export or save as PNG (or WebP with alpha, but check compatibility). For many websites, converting a PNG to WebP keeps transparency and reduces size — see our guide to Convert PNG to Webp Without Quality Loss.
File size, dimensions and perceived quality — practical rules
Dimensions (pixels), compression level, and the image format all determine file size and visual quality. Follow these rules:
- First pick the right pixel dimensions for the final display. Avoid uploading huge pixel dimensions if the site will show a small image — resize first. See our tool guide: Resize Image to Exact KB and Pixels for Online Upload.
- For photographs, reduce quality incrementally (for JPG) until the file meets the KB limit while keeping visual fidelity. Use a preview to compare.
- For graphics/screenshots, prefer PNG but consider a carefully compressed JPG only if transparency or crisp edges are not required.
Step-by-step workflows
Convert a photo to JPG for smaller size (without changing dimensions)
- Open the image in an editor (Photoshop, GIMP) or an online converter.
- If the original is PNG, check if it contains transparency. If not, exporting as JPG is fine.
- Export/save as JPG and set quality to 80–85% as a starting point — visually inspect for artefacts.
- If you need a target KB, resize pixels first and then adjust quality, or use an exact-KB tool like our Resize Image to Exact KB and Pixels guide workflow.
Make a logo with transparent background (save as PNG)
- In your design tool, remove or hide the background layer so only the logo is visible.
- Export as PNG-24 (or PNG with alpha) to keep full transparency and smooth edges.
- If the file is very large, consider trimming whitespace, simplifying gradients or using SVG for vector logos where possible.
Reduce screenshot size while keeping text legible
- Capture at the native display size to avoid resampling blur.
- Save as PNG to preserve text clarity; if size must be smaller, experiment with JPG at high quality (90–95%) and compare legibility.
- For long screenshots or documents, turn them into a PDF or compress with tools tuned for readability — see our Image to PDF guide.
Quick checklist: choose the right format
| Use case | Format | Why |
|---|---|---|
| Web photographs | JPG (or WebP) | Smaller files, acceptable quality loss |
| Logos, icons, UI elements | PNG (or SVG) | Lossless, crisp edges, supports transparency |
| Screenshots with text | PNG | Preserves sharpness and readability |
| Images needing transparency on web | PNG or WebP with alpha | Retains transparent background |
| Strict KB-limited uploads | JPG with careful quality + resize | Smaller file size — balance quality |
Practical tips to reduce PNG size without losing clarity
- Trim unnecessary whitespace around the image.
- Reduce colour depth where possible (PNG-8 instead of PNG-24) if the graphic uses a limited palette.
- Remove metadata (camera EXIF) from exported files.
- For web use, consider converting to WebP (see our conversion guide above) which often keeps transparency and lowers file size.
Common mistakes and how to avoid them
- Saving a logo as JPG and losing the transparent background — always export logos needing transparency as PNG (or SVG/WebP with alpha).
- Uploading huge pixel-dimension photos and relying on server-side scaling — resize to intended display size first to save bandwidth and avoid automatic compression artefacts.
- Compressing screenshots too aggressively as JPG and making on-screen text unreadable — compare PNG vs JPG at several quality levels.
- Assuming PNG is always better — for photos PNG will often be much larger with no visual benefit.
Tools and internal SmartImageResize pages to help
Use SmartImageResize resources to manage format conversion, resizing and compression while keeping quality:
- Convert PNG to WebP: https://smartimageresize.com/convert-png-to-webp/
- Resize images to exact KB or pixels: https://smartimageresize.com/resize-image-exact-kb-pixels/
- Compress images to specific KB (20/50/100KB): Compress Image to 20KB 50KB or 100KB
- Featured image SEO and page speed tips: Featured Image Optimization for WordPress
Frequently Asked Questions
Final checklist before upload
- Confirm the required format and KB/dimension limits on the destination (forms, marketplaces, CMS).
- Choose JPG for photos, PNG for transparency and sharp graphics; consider WebP for web-only use.
- Resize to final display pixels then compress; remove metadata and trim whitespace.
- Preview the final file on the target device or portal to ensure legibility and acceptable quality.
Try the matching Smart Image Resize tool
Use the closest live SmartImageResize tool for the task in this guide. For government or platform uploads, verify the latest official requirement before final submission.
Open PNG to JPG Converter Online – Convert PNG Images to JPG Easily